Upholstered Headboard
I love the look of upholstered headboards. I've had this one from Ballard Designs saved in my favorites for a while but it starts at $679, which is more than I wanted to spend. I did use it for shape inspiration. I like this one from West Elm, too. This one was a great find from a DIY blog. I loved the color of it and the nailhead trim. I couldn't find the nailhead trim that was attached in a strand, just the individual nailheads. Time is a luxury so that option got nixed...
Tools and supplies:
- Graph paper to sketch out your design
- Fabric that is large enough to fit your desired plywood size
- Quilt batting (I did 3 layers)
- Covered button kit
- Plywood
- Fishing line or sturdy thread
- Long needle
- Scissors
- Nail or something to attach the button
- Jig saw if you are doing a shape
- Drill if you are adding buttons
To determine the height, I just measured above my mattress to the height that I wanted (about 32").
 |
| Sketching out the headboard
|

Then, using a jig saw, my hubby cut along the sketched edges.

Then he drilled the holes.

I laid the fabric on my table with the right side facing down. I also added 3 layers of quilt batting on top of the fabric. Then I placed my newly cut and drilled plywood on this.
I started in the middle of the top and started stapling. I pulled firmly, but not with a lot of pressure because I didn't want to distort the fabric. To staple around the curves, I cut 1 inch slashes into the fabric and quilt batting in the curved section.

Then I stapled each "slash", smoothing as I went along.

I made some fabric covered buttons and then attached the buttons. I used fishing line as the thread and tied the fishing line to a nail. I then fed the thread through the hole and attached the button with a couple of stitches.

When I got finished, I used duct tape to attach the nails to the plywood. I think this also helps to keep the button tight against the quilt batting.

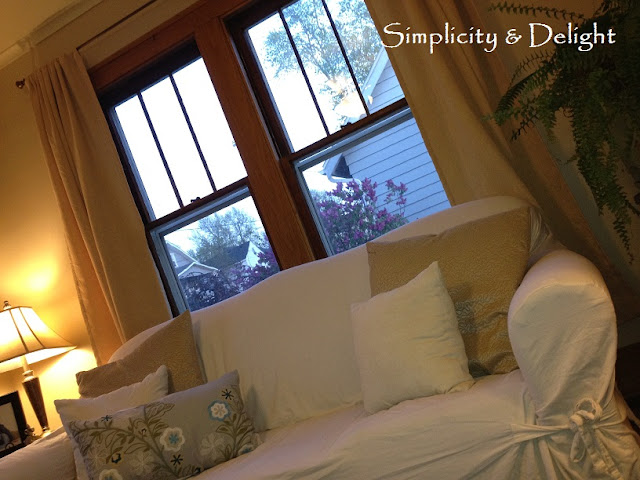
Here is a preview of the headboard. More to come when the bedroom is finished...


Comments
Post a Comment