My thoughts on hardwood floor refinishing
This post could also be known as "what I did on my spring break" or "I 'wood' do it again". First of all, here is a little preview of the final refinished hardwood floor:
While my hubby was sanding, I cleaned up the grate with some sandpaper and then spray painted it a dark copper color. It looks so nice!

So, are you up for a DIY like this? Or what DIY projects are you dreaming of? Happy DIY!
Nicole
I'm linking up at Thrifty Decor Chick's Before & After Party.
 |
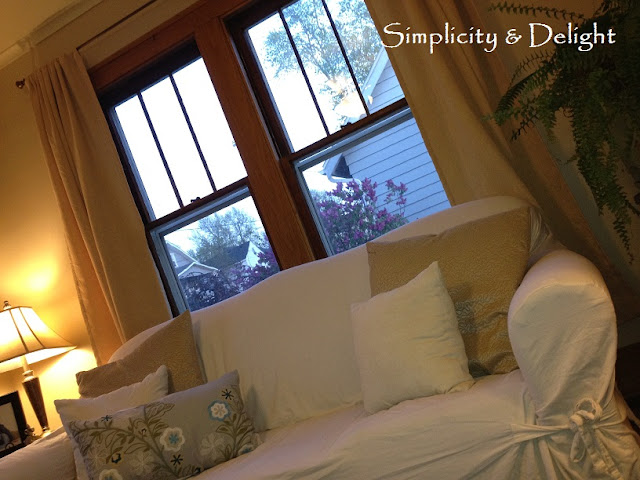
| The dining room view |
A little background - we refinished the hardwood floors in both our living room and dining room because the two rooms are connected. We have hardwood in every room except the bathrooms. Our original plan included refinishing the kitchen. By the time we got everything out of our living and dining rooms, we ran out of places to go with the kitchen appliances and stuff. Because I didn't anticipate that particular problem, I didn't have a chance to get a storage unit. We needed to finish over our spring break.
I found this Russet Street Reno blog post to be incredibly useful so I won't repeat all of their great instructions.
Sanding
We rented a drum sander from our local Ace hardware. It was a barrel sander, but didn't seem to be as large and heavy as some we checked into. The guy at Ace was very helpful with his instructions. This particular sander had a bag on it. While it did get kind of dusty, it was not nearly as bad as I thought or had read about.
 |
| Drum sander and floor after first pass |
To get the edges, we rented a smaller sander for edging, but I don't remember what it was called. We rented this for 4 hours, but went at the end of the day and had it until the next morning. This way, we got the 4 hour rental rate but got the sander for nearly 12 hours. The only problem was that the edges seemed to go through so much more sandpaper than the center. We got about 2 feet before the paper gummed up. We think this is because a lot of the finish at the center had been rubbed away through the years of walking on it. I reverted to the little palm sander. It also went through a lot of sandpaper, but the store was open until 9. We bought lots with the thought that we could take it back if necessary. It wasn't. My husband sanded the center. I got the edges. I sanded at least 6 hours.
For finish in the corners, I used a spray can of CitriStrip that I had. This worked really well. Our older house used to have an oil furnace. I think that the gunk in the corner was a combination of oil residue and dirt. CitriStrip was quick. I rinsed it according to the package directions.
 |
| CitriStrip is a good thing on hard to reach areas |

Cleaning Up
I vacuumed with the boards and then perpendicular to the boards. I also used a Swiffer and ran across the floor parallel and then perpendicular to the boards. In the Russet Street tutorial, they noted that they placed a tack cloth on a Swiffer mop and used that. I apparently skipped the tack cloth part. I recommend that because I can see a few tiny pieces of dust in the finish. Most people wouldn't notice this, though.
Staining
We decided not to stain after consulting friends who had refinished. I think if we had stained, we would have needed to paint our woodwork because the floor would have been so much darker than the woodwork. Don't get me wrong: I love the look of painted woodwork, but in our city, people seem to love the natural woodwork. Until we decide if this is our forever house (and it probably is), I'll leave the trim it in its natural state.
The red oak color would not necessarily be my first choice in a new home, but it is beautiful in this home and just seems to fit with the age and style of the house.
Polyurethane Finish
Finally, we used three coats of a semi-gloss, oil based polyurethane. I was leaning toward satin, but the store only had 2 gallons. They had 5 gallons of semi-gloss. I love the patina, so it was the right choice.
I used the Russet Street information regarding applicators. I did not use a brush to cut in since I was able to get right into the corners with the wool pad. One thing that I am glad I did was to cover the wool pad in tape and pull it off. The first time, I simply dabbed tape all of the surface of the wool pad, but got a few wool fibers in the finish. I covered the next pad with tape and that worked much better.
 |
| First coat is partially complete |
Last thoughts
- We moved the sander forward while putting it down. My husband described the sanding motion as moving forward while pulling back slightly so the sander doesn't get away from you.
- The main floor sanding was much easier than we anticipated.
- The side of the floor sanding took much longer than we anticipated.
- We used way more sandpaper than we anticipated (even after buying double what we thought we would need.)
- We really went by feel on the floor regarding grit. We went through 3 different grits. I believe we used 35, 60 and 120. The floor felt incredibly smooth to us. The number of grits/sandings will probably depend on the condition of your own floor.
- The floor has a bit more of an amber feel to it, but I think part of this coloring was the original floor coating that got ground in while we were sanding. It still looks beautiful.
- Try to have two sets of eyes while putting on the poly. The first coat is easy. After that, it's really hard to tell where you have and haven't been. And you can't touch up the wet finish like you could paint on a wall.
- Our total cost was just over $300 for nearly 350 square feet of floor.
- We would do this again!
- This was our first big DIY project like this. We've only done painting, tiling, change out electrical sockets, etc. We're also pretty good at ripping things out, but not as great as getting them back together.
- We still need to buy, poly and reattach quarter round.
- I love the floors!
 |
| Floors in living room |
So, are you up for a DIY like this? Or what DIY projects are you dreaming of? Happy DIY!
Nicole
I'm linking up at Thrifty Decor Chick's Before & After Party.

Your hardwood floors look incredible! I really like how shiny they are. It's almost as if someone had poured gloss all over them. I have hardwood floors, but they are dull and bland. I want my living room to have more luster. I'll have to check a flooring store near me to see if they have anything like this for me to look at. http://www.laceyscarpet.com
ReplyDeleteThanks, Dom. I still love the floors a year and a half later!
Delete